Honeywell TH6320R1004 Installation Manual: Overview
This manual guides efficient workflow and productivity with your new Honeywell Th6320R1004 thermostat․ Honeywell, a world-class brand, offers reliable performance and assurance, backed by a strong reputation and positive user feedback․
Understanding the Thermostat
The Honeywell TH6320R1004 is a programmable thermostat designed for efficient home climate control․ As a product from Honeywell International, a diversified technology and manufacturing company with over $30 billion in revenue, it represents a commitment to quality and innovation․ This thermostat streamlines your workflow, offering a gateway to enhanced efficiency in managing your home’s heating and cooling systems․
It’s built upon Honeywell’s legacy of creative technology and leadership, ensuring a reliable and user-friendly experience․ The TH6320R1004 is suitable for various home setups, providing accurate temperature regulation and potentially integrating with smart home ecosystems; Understanding its features is key to maximizing energy savings and comfort; The device is designed for ease of use, offering a straightforward interface for setting schedules and preferences․
Package Contents Verification
Before beginning installation, carefully verify the contents of the Honeywell TH6320R1004 package․ A complete package ensures a smooth and trouble-free setup process․ Typically, you should find the thermostat base unit, the thermostat display module, mounting screws and anchors for secure wall attachment, and a detailed installation manual – this document!
Additionally, wire labels are included to aid in proper wiring identification, crucial for correct system functionality․ Some packages may also contain a small screwdriver or other basic tools to assist with installation․ Inspect all components for any signs of damage during shipping․ If any items are missing or damaged, immediately contact Honeywell support for assistance and replacements․ Confirming all parts are present prevents delays and ensures a successful installation․

Installation Process
Begin by prioritizing safety precautions and carefully identifying the wiring diagram․ Proper installation, including C-wire considerations and secure base mounting, is essential for optimal performance․
Safety Precautions
Prior to commencing the installation of your Honeywell TH6320R1004 thermostat, it is paramount to adhere to strict safety guidelines․ Always disconnect power to your heating and cooling system at the breaker box to prevent electrical shock․ Verify the power is off using a non-contact voltage tester․
If you are uncomfortable working with electrical wiring, consult a qualified HVAC technician․ Improper wiring can lead to system malfunction, fire hazards, or personal injury․ Ensure the work area is dry and well-lit․
Wear appropriate safety glasses to protect your eyes from debris․ Carefully read and understand all instructions in this manual before beginning the installation process․ Failure to follow these precautions could void your warranty and compromise your safety․ Remember, safety is the utmost priority throughout the entire installation․
Wiring Diagram Identification
Accurate wiring is crucial for the proper functioning of your Honeywell TH6320R1004 thermostat․ Before connecting any wires, carefully examine the existing wiring configuration at your old thermostat․ Document the wire colors and their corresponding terminal designations․
Refer to the wiring diagram included with your new thermostat and compare it to your existing setup․ Common terminal designations include R (power), C (common), W (heating), Y (cooling), and G (fan)․
If you encounter any discrepancies or are unsure about a specific wire, consult a qualified HVAC technician․ Incorrect wiring can damage your thermostat or HVAC system․ Ensure all wire connections are secure and properly tightened․ Double-check all connections before restoring power to the system․
C-Wire Requirement and Installation
The Honeywell TH6320R1004 thermostat typically requires a C-wire (common wire) for consistent power․ Many older HVAC systems lack a dedicated C-wire, which may necessitate its installation․ A C-wire provides a return path for the 24V power, ensuring reliable operation, especially with advanced features like Wi-Fi connectivity․
If a C-wire isn’t present at your thermostat location, you can often find an unused wire within the existing thermostat cable․ This wire can be connected to the C terminal on both the thermostat and the furnace control board․
Alternatively, a C-wire adapter may be used, but professional installation is recommended․ Incorrect C-wire installation can lead to system malfunctions․ Always consult the wiring diagram and, if unsure, seek assistance from a qualified HVAC technician․
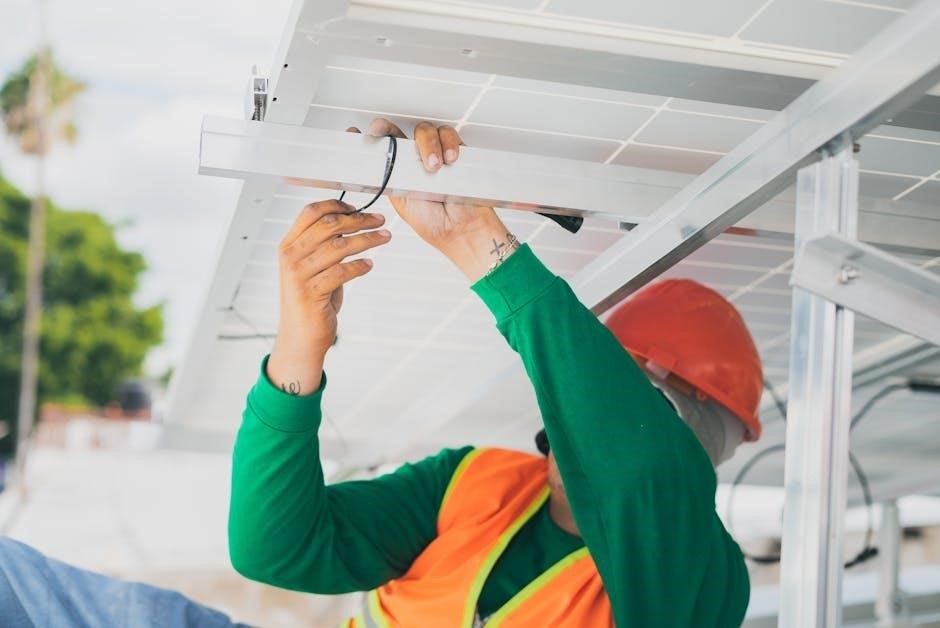
Mounting the Thermostat Base
Before mounting the Honeywell TH6320R1004 base, ensure the HVAC system’s power is completely switched off at the breaker box․ Carefully remove your old thermostat from the wall plate, noting the wire connections for accurate transfer․ Use the included screws and wall anchors to securely attach the new thermostat base to the wall․
Ensure the base is level for proper display alignment․ Gently feed the thermostat wires through the opening in the base, being careful not to damage them․ Connect the wires to the corresponding terminals on the base, referencing the wiring diagram․
Double-check all connections before proceeding․ Once the wiring is verified, carefully snap the thermostat display unit onto the mounted base until it clicks securely into place․
Configuration and Setup
After mounting, power on your Honeywell TH6320R1004 and follow the on-screen prompts for initial setup․ Connect to Wi-Fi to unlock smart features and remote control․
Powering On and Initial Setup
Once the thermostat base is securely mounted and the wiring is correctly connected, you can proceed with powering on the Honeywell TH6320R1004․ The thermostat should automatically power on when it detects a stable power supply from the wiring․ If it doesn’t, double-check the wiring connections, ensuring they are firmly seated and correspond to the correct terminals as outlined in the wiring diagram․
Upon initial power-up, the thermostat will initiate a self-test and display a welcome screen․ Follow the on-screen prompts to begin the setup process․ You will likely be asked to confirm the date and time, and select your preferred language․ Accurate date and time settings are crucial for proper scheduling and operation․ The thermostat may also prompt you to create a user account or connect to the Honeywell Home app for remote access and advanced features․ Take your time and carefully read each prompt to ensure accurate configuration․
Connecting to Wi-Fi
To unlock the smart features of your Honeywell TH6320R1004, connecting to your home Wi-Fi network is essential․ From the thermostat’s main menu, navigate to the “Settings” or “Network” option – the exact wording may vary slightly․ Select “Connect to Wi-Fi” and the thermostat will begin scanning for available networks․
A list of detected Wi-Fi networks will appear on the display․ Choose your network from the list and enter your Wi-Fi password using the on-screen keyboard․ Ensure the password is entered correctly, as incorrect credentials will prevent connection․ Once connected, the thermostat will display a confirmation message and a Wi-Fi signal strength indicator․ Successful connection enables remote control via the Honeywell Home app, access to weather updates, and potential integration with other smart home devices, streamlining your workflow and boosting productivity․
Setting System Type (Heating/Cooling)
Accurate system type configuration is crucial for optimal performance of your Honeywell TH6320R1004 thermostat․ Access the “Settings” menu on the thermostat and locate the “System Type” or “Equipment Type” option․ You’ll be presented with a selection of system configurations, including options for heating only, cooling only, heat pump, or forced air systems․
Carefully select the option that accurately reflects your home’s heating and cooling setup․ Incorrect selection can lead to inefficient operation and discomfort․ If you have a heat pump, you may also need to specify whether it’s a standard or dual-fuel system․ Confirm your selection and the thermostat will adjust its operation accordingly, ensuring efficient and reliable temperature control․ This step streamlines workflow and boosts productivity by guaranteeing optimal performance․
Programming Schedules
Leverage the Honeywell TH6320R1004’s scheduling capabilities to maximize energy savings and comfort․ Within the thermostat’s menu, navigate to the “Schedule” or “Programming” section․ You can typically create different schedules for weekdays and weekends, or customize each day individually․ Define specific time periods and desired temperatures for each period – for example, setting lower temperatures while you’re away at work or asleep․
The thermostat allows for multiple periods per day, offering granular control over your home’s climate; Explore options like “Wake,” “Leave,” “Return,” and “Sleep” presets to simplify schedule creation․ Regularly reviewing and adjusting your schedules based on seasonal changes or lifestyle adjustments will further optimize energy efficiency and ensure consistent comfort․ This feature streamlines workflow and boosts productivity by automating temperature control․
Advanced Features
Explore smart home integration, geofencing, and energy-saving modes for enhanced control․ Honeywell prioritizes innovative technology, offering a streamlined and productive user experience․
Smart Home Integration (if applicable)
Seamlessly connect your Honeywell TH6320R1004 thermostat to your existing smart home ecosystem․ This integration allows for remote control and monitoring via compatible platforms, enhancing convenience and energy management․ Utilize voice commands through popular assistants to adjust temperature settings without lifting a finger․ The thermostat’s compatibility extends to various systems, providing a unified control experience for your entire home․
Benefit from automated routines and schedules, triggered by other smart devices or specific events․ For example, automatically lower the temperature when you leave home, detected by your smart lock, or adjust settings based on weather forecasts․ Honeywell’s commitment to innovation ensures a reliable and secure connection, safeguarding your home’s comfort and efficiency․ Explore the possibilities of a truly connected home with the TH6320R1004․
Geofencing Capabilities
Leverage the power of geofencing with your Honeywell TH6320R1004 thermostat for optimized energy savings and comfort․ This feature utilizes your smartphone’s location to automatically adjust temperature settings based on your proximity to home․ As you approach, the thermostat proactively prepares your home for your arrival, ensuring a comfortable environment․ Conversely, when you depart, it intelligently sets back the temperature, minimizing energy waste․
Customize geofencing parameters to suit your lifestyle, defining a virtual perimeter around your home; Adjust the radius and temperature adjustments to perfectly match your preferences․ Honeywell prioritizes data privacy and security, ensuring your location information is handled responsibly․ Enjoy the convenience of a home that anticipates your needs and adapts to your schedule, all while reducing your carbon footprint and lowering energy bills․
Energy Saving Modes
Maximize efficiency and minimize utility costs with the Honeywell TH6320R1004’s integrated energy saving modes․ This thermostat offers several pre-programmed settings designed to reduce energy consumption without sacrificing comfort․ Explore options like ‘Away’ mode, which automatically lowers temperatures during extended absences, and ‘Sleep’ mode, optimizing settings for nighttime comfort and savings․
Customize these modes or create your own personalized schedules to align with your daily routines․ Honeywell’s smart technology learns your preferences over time, further refining energy usage․ The thermostat’s intuitive interface provides clear insights into your energy consumption patterns, empowering you to make informed adjustments․ By utilizing these features, you contribute to a more sustainable lifestyle and enjoy significant long-term savings, reflecting Honeywell’s commitment to both performance and environmental responsibility․
Troubleshooting
Resolve common issues quickly with this section․ Identify error codes, reset the thermostat to factory settings, or contact Honeywell support for further assistance and guidance․
Common Error Codes
Understanding error codes is crucial for diagnosing issues with your Honeywell TH6320R1004 thermostat․ These codes provide valuable insights into the problem, enabling efficient troubleshooting․ A “Low Battery” error indicates insufficient power, requiring battery replacement․ A “C-Wire Missing” error signifies the absence of a common wire, essential for consistent power․
“Heat/Cool Not Responding” suggests a wiring issue or a problem with the heating/cooling system itself․ “Sensor Error” indicates a faulty temperature sensor, potentially requiring replacement․ “Communication Error” points to connectivity problems between the thermostat and the system․ Refer to the complete error code list in the manual for detailed explanations and recommended solutions․ Always prioritize safety and consult a qualified technician if you are uncomfortable addressing electrical issues․ Proper diagnosis, guided by these codes, minimizes downtime and ensures optimal thermostat performance․
Resetting the Thermostat
Resetting your Honeywell TH6320R1004 thermostat can resolve minor software glitches and restore factory settings․ A soft reset, achieved by powering the thermostat off and on, often resolves temporary issues․ For a more comprehensive reset, navigate to the settings menu on the thermostat’s display․ Select the “Reset” or “Factory Reset” option, confirming your choice when prompted․
Be aware that a factory reset will erase all personalized settings, including schedules and Wi-Fi connections, returning the thermostat to its original state․ This is useful for troubleshooting persistent problems or preparing the thermostat for a new user; After resetting, you’ll need to reconfigure the system type, Wi-Fi, and desired schedules․ Consult the full installation manual for detailed step-by-step instructions and safety precautions before performing a reset․
Contacting Honeywell Support
If you encounter persistent issues with your Honeywell TH6320R1004 thermostat, Honeywell’s support team is a valuable resource․ For immediate assistance, visit the official Honeywell Home website, where you’ll find a comprehensive FAQ section and troubleshooting guides․ A robust online knowledge base addresses common concerns and provides step-by-step solutions․

Direct contact with Honeywell support is available via phone; check the website for the most current contact number, as it may vary by region․ When contacting support, have your thermostat’s model number (TH6320R1004) and date of purchase readily available․ Detailed descriptions of the problem and any error codes displayed will expedite the support process․ Honeywell’s commitment to customer satisfaction ensures a helpful and efficient resolution to your thermostat concerns․
Maintenance
Regular cleaning and, if applicable, battery replacement ensure optimal performance and longevity of your Honeywell TH6320R1004 thermostat․ Consistent care maintains accuracy and reliability․
Cleaning the Thermostat
To maintain the appearance and functionality of your Honeywell TH6320R1004 thermostat, regular cleaning is recommended․ Before cleaning, always ensure the system is powered off or set to ‘Off’ to prevent accidental operation or electrical shock․ Use a soft, dry cloth to gently wipe the thermostat’s faceplate and casing․ Avoid abrasive cleaners, solvents, or excessive moisture, as these can damage the display or internal components․
For stubborn dirt or smudges, lightly dampen the cloth with water, ensuring it is wrung out thoroughly to prevent water from entering the thermostat․ Pay particular attention to cleaning around the buttons and display screen․ Do not immerse the thermostat in water or any other liquid․ After cleaning, thoroughly dry the thermostat with a clean, dry cloth before restoring power․ Consistent cleaning will help preserve the thermostat’s aesthetic appeal and ensure accurate temperature readings over time, contributing to a comfortable and efficient home environment․

Battery Replacement (if applicable)
While the Honeywell TH6320R1004 thermostat is designed for consistent performance, some models may utilize batteries as a backup power source or for specific functionalities․ If your model requires batteries, the thermostat will typically display a low battery warning indicator․ To replace the batteries, first, ensure the system is powered off․ Locate the battery compartment, usually found on the back or side of the thermostat, and carefully open it․
Remove the old batteries, noting their correct polarity (+ and -)․ Insert new batteries of the same type, ensuring proper alignment․ Close the battery compartment securely․ The thermostat should now resume normal operation․ Dispose of used batteries responsibly, following local regulations․ Regularly checking and replacing batteries, when needed, will prevent unexpected interruptions in thermostat operation and maintain accurate temperature control, contributing to a comfortable and energy-efficient home․