Dynex TV Instruction Manual: A Comprehensive Guide
Discover essential setup‚ connection‚ and troubleshooting guidance for your Dynex TV‚ alongside details on features‚ safety‚ and accessing further support resources.
Dynex offers a range of televisions designed to deliver a quality viewing experience at an accessible price point. As a brand often associated with Best Buy‚ Dynex TVs cater to consumers seeking reliable performance without premium features. This instruction manual aims to provide comprehensive guidance for setting up‚ operating‚ and maintaining your Dynex TV model.
Whether you’ve recently purchased a new Dynex TV or are revisiting an older model‚ understanding its capabilities and proper usage is crucial. This guide covers everything from initial setup and menu navigation to connecting external devices and resolving common issues. Dynex consistently strives to provide user-friendly technology‚ and this manual is designed to enhance that experience.
Understanding Your Dynex TV Model
Dynex TVs come in various sizes and resolutions‚ ranging from standard HD to 4K Ultra HD. Identifying your specific model number – typically found on the back of the TV or in your original packaging – is the first step. This number unlocks access to tailored support and specific documentation;
Familiarize yourself with the ports available on your Dynex TV‚ including HDMI for connecting devices like Blu-ray players and gaming consoles‚ USB for media playback‚ and audio outputs for external sound systems. Understanding these connections is vital for expanding your TV’s functionality. Refer to the diagrams within this manual to pinpoint each port’s location and purpose. Knowing your model’s features ensures optimal usage.

Setting Up Your Dynex TV
Prepare for an immersive experience! This section details unboxing‚ stand assembly‚ and initial power-up procedures for your new Dynex TV.
Unboxing and Component Identification
Carefully remove your new Dynex TV from the packaging‚ ensuring all protective materials are retained for potential future transport. Verify the inclusion of all listed components: the TV unit itself‚ the TV stand (and associated hardware – screws‚ bolts‚ etc.)‚ a remote control‚ batteries for the remote‚ a power cord‚ and this instruction manual.
Inspect each item for any visible damage incurred during shipping. If damage is present‚ immediately contact customer support. Familiarize yourself with the location of key ports on the rear of the TV – HDMI inputs‚ USB ports‚ audio outputs‚ and the power input. Refer to the diagrams within this manual for precise identification of each component and port. Proper identification is crucial for seamless setup and connectivity.
Mounting the TV Stand
Before beginning‚ ensure the TV is placed on a soft‚ flat surface to prevent screen damage. Locate the TV stand components and the corresponding screws included in the accessory pack. Align the stand’s mounting brackets with the pre-drilled holes on the bottom of the TV.
Carefully insert and tighten the screws‚ ensuring the stand is securely attached. Do not overtighten‚ as this could damage the TV’s housing. Once the stand is firmly in place‚ gently lift the TV and position it upright. Verify the stability of the stand before placing the TV into operation. A wobbly stand indicates improperly tightened screws – re-check and adjust as needed.
Connecting to Power and Initial Setup
First‚ connect the power cord to the TV’s power input and then into a grounded electrical outlet. Avoid using extension cords or adapters. Press the power button on the TV or remote control to initiate startup; The TV will guide you through an initial setup process.
This includes selecting your preferred language‚ connecting to a Wi-Fi network (if applicable for Smart TV models)‚ and scanning for available digital channels. Follow the on-screen prompts carefully. You may be asked to agree to terms and conditions. Once setup is complete‚ your Dynex TV is ready for use!

Navigating the Dynex TV Menu
Explore the intuitive Dynex TV menu to customize picture and sound settings‚ access smart features‚ and manage various display options effortlessly.
Main Menu Overview
Upon powering on your Dynex TV‚ the Main Menu serves as your central hub for all settings and features. Typically accessed via the “Menu” or “Settings” button on your remote‚ it presents a user-friendly interface. Expect to find key categories such as Picture‚ Sound‚ Channel‚ Network (for Smart TVs)‚ System‚ and Support.
Within each category‚ you’ll discover a range of customizable options. The Picture menu allows adjustments to brightness‚ contrast‚ color‚ and sharpness. The Sound menu controls volume‚ equalizer settings‚ and audio output options. The System menu manages general settings like language‚ time‚ and parental controls. Smart TV users will find app management and network configuration within the Network section. Finally‚ the Support menu often provides access to troubleshooting guides and software updates.
Picture Settings Adjustment
Optimizing your Dynex TV’s picture quality involves navigating the Picture Settings menu. Begin with Brightness and Contrast to achieve desired levels of light and dark. Adjust Sharpness to refine image detail‚ but avoid excessive settings that can introduce artifacts. Color controls allow you to fine-tune saturation and hue for accurate representation.
Explore advanced settings like Backlight (for LED TVs) to control overall brightness and energy consumption. Picture Mode presets (e.g.‚ Standard‚ Vivid‚ Cinema) offer quick adjustments for different viewing environments. Consider experimenting with Color Temperature (Cool‚ Normal‚ Warm) to personalize the white balance. Resetting to default settings is always an option if adjustments don’t yield satisfactory results.
Sound Settings Configuration
Personalize your Dynex TV’s audio experience through the Sound Settings menu. Adjust the Volume to a comfortable listening level‚ and explore Equalizer settings to boost or reduce specific frequencies – enhancing bass or clarifying dialogue. Sound Mode presets (Standard‚ Music‚ Movie‚ etc.) offer optimized audio profiles for various content types.
Delve into advanced options like Balance (to adjust sound distribution between speakers) and Auto Volume Leveling (to minimize sudden volume changes). If connected to external audio devices‚ ensure the correct Digital Audio Output setting (PCM‚ Dolby Digital) is selected. Explore Surround Sound options if your setup supports them. Resetting to default settings provides a baseline for further customization.

Connecting External Devices
Expand your Dynex TV’s functionality by seamlessly connecting devices via HDMI‚ USB‚ and audio inputs‚ unlocking a world of entertainment possibilities.
HDMI Connection Guide
HDMI (High-Definition Multimedia Interface) provides the highest quality audio and video connection for your Dynex TV. Locate the HDMI ports on the rear or side of your television. Connect one end of an HDMI cable to the HDMI output port on your external device – such as a Blu-ray player‚ game console‚ or streaming device.
Securely connect the other end of the HDMI cable to an available HDMI input port on your Dynex TV. Power on both your TV and the connected device. Using your Dynex TV remote‚ select the corresponding HDMI input source from the input/source menu.
Ensure the cable is firmly seated in both ports for optimal signal transmission. For 4K or HDR content‚ use a High-Speed HDMI cable.
USB Connectivity Options
USB ports on your Dynex TV offer versatile connectivity for various devices. Locate the USB ports‚ typically found on the rear or side panel. You can connect USB flash drives to access photos‚ videos‚ and music files directly on your TV. Ensure the files are in compatible formats (e.g.‚ JPEG‚ MP4‚ MP3).
Additionally‚ USB ports can support connecting a keyboard or mouse for easier navigation within the smart TV interface‚ if your model supports this feature. Some Dynex TVs may also allow for recording programs from the TV tuner onto a USB storage device.
Simply plug the USB device into the port‚ and the TV should automatically detect it.
Connecting Audio Devices
Enhance your Dynex TV audio experience by connecting external devices. Utilize the optical audio output for a digital connection to soundbars or AV receivers‚ delivering high-quality sound. Alternatively‚ the 3.5mm headphone jack allows for direct connection to headphones or smaller speakers.
For older audio systems‚ the RCA audio outputs (red and white connectors) provide an analog connection. Ensure proper cable connections and select the corresponding audio output source in your TV’s settings menu.
Experiment with different audio settings to optimize sound quality based on your connected devices and listening preferences.

Troubleshooting Common Issues
Resolve frequent Dynex TV problems like no picture‚ sound loss‚ or remote control malfunctions with our simple‚ step-by-step troubleshooting guidance.
No Picture Troubleshooting
Experiencing a blank screen on your Dynex TV? First‚ ensure the power cord is securely connected to both the TV and a working outlet. Verify the TV is turned on – check the power indicator light. Next‚ confirm the correct input source is selected using the input/source button on your remote.
If the issue persists‚ try cycling the power: unplug the TV from the wall‚ wait 60 seconds‚ and plug it back in. Check the connections of any external devices (HDMI‚ component) to ensure they are firmly in place. A faulty cable can also cause this issue; try a different cable. Finally‚ if none of these steps resolve the problem‚ consult the Dynex support website for further assistance or consider a professional repair.
No Sound Troubleshooting
Encountering silence from your Dynex TV? Begin by verifying the volume level isn’t muted or set too low‚ using both the TV’s physical buttons and the remote control. Confirm the correct audio output is selected within the TV’s menu – options include internal speakers‚ HDMI ARC‚ or optical audio.
If using external speakers‚ ensure they are powered on and properly connected. Check the speaker cables for any damage or loose connections. Try a different audio cable to rule out a faulty cable. If the problem persists‚ test with a different input source (e.g.‚ a different HDMI device) to isolate the issue. For continued problems‚ visit the Dynex support website or seek professional help.
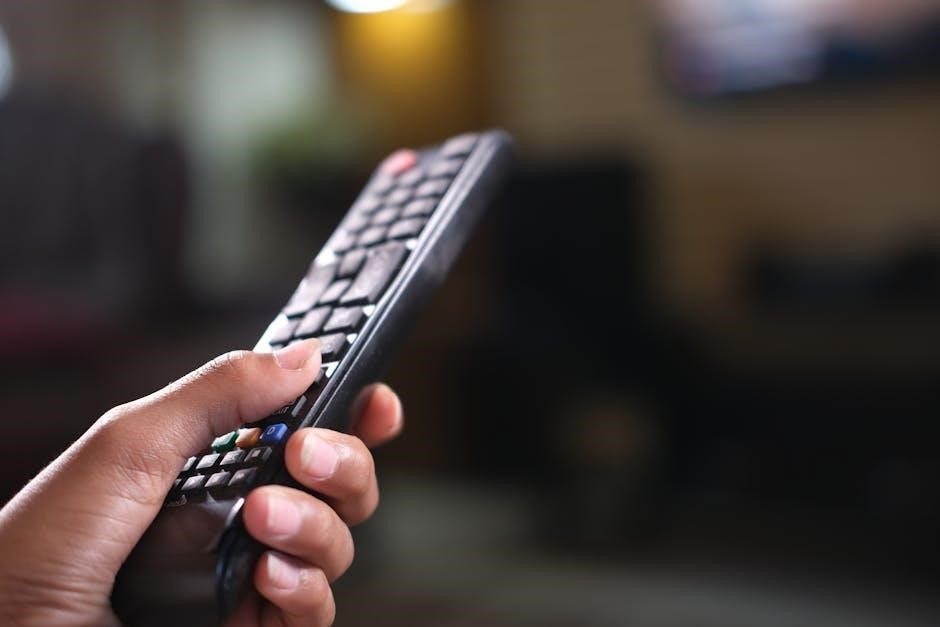
Remote Control Issues
Experiencing unresponsive remote control behavior with your Dynex TV? First‚ ensure fresh batteries are correctly installed‚ observing proper polarity. Aim the remote directly at the TV’s infrared sensor‚ avoiding obstructions. Try resetting the remote by removing and reinserting the batteries. If the issue persists‚ perform a TV reset by unplugging it for 60 seconds‚ then plugging it back in.
Check for interference from other electronic devices. If you have a universal remote‚ ensure it’s programmed correctly for your Dynex TV model. Consult the Dynex support website for specific remote pairing instructions or replacement options if the remote is faulty.
Dynex TV Features and Functions
Explore smart capabilities‚ energy-saving modes‚ and accessibility options like closed captioning‚ enhancing your Dynex TV viewing experience with tailored settings.
Smart TV Capabilities (If Applicable)
If your Dynex TV model includes smart functionality‚ you’ll unlock a world of streaming entertainment and convenient apps. Access popular services like Netflix‚ Hulu‚ and YouTube directly on your TV. The interface allows for easy navigation using the remote control‚ providing a user-friendly experience.
Connecting to your home Wi-Fi network is essential for utilizing these features. Follow the on-screen prompts during the initial setup or access the network settings within the main menu. Once connected‚ explore the app store to download additional applications. Regularly updating your TV’s software ensures optimal performance and access to the latest features. Remember to review the terms and conditions for each app before installation.
Energy Saving Modes
Dynex TVs offer several energy-saving modes designed to reduce power consumption and minimize your environmental impact. Explore options like ‘Eco Mode’ or ‘Power Saving’ within the picture settings menu. These modes typically adjust brightness levels and disable unnecessary features to conserve energy.
Additionally‚ consider utilizing the ‘Sleep Timer’ function‚ which automatically turns off the TV after a pre-set period of inactivity. Adjusting the backlight settings can also significantly reduce energy usage. Regularly unplugging your TV when not in use‚ or using a power strip with an on/off switch‚ further contributes to energy conservation. These simple adjustments can lead to noticeable savings on your electricity bill.
Closed Captioning and Accessibility Options
Dynex TVs prioritize inclusivity with robust closed captioning and accessibility features. Access these options through the TV’s main menu‚ typically found within the ‘Settings’ or ‘Accessibility’ section. You can enable and customize closed captions for improved comprehension‚ selecting preferred text size‚ color‚ and font style.
Further accessibility options may include audio description services for visually impaired viewers‚ high contrast modes for enhanced visibility‚ and adjustable screen reader compatibility. Explore menu settings to discover features tailored to individual needs. These functionalities ensure a comfortable and enjoyable viewing experience for everyone‚ promoting equal access to content and entertainment.

Dynex TV Safety Information
Prioritize safety by following precautions regarding power cords‚ ventilation‚ cleaning‚ and proper TV stand installation to prevent damage or injury.
Important Safety Precautions
To ensure safe operation‚ always use a properly grounded power outlet. Avoid using damaged power cords and never attempt to repair them yourself; contact qualified personnel instead. Ensure adequate ventilation around the TV to prevent overheating‚ and keep it away from direct sunlight and water sources.
Never insert objects into the TV’s vents. When cleaning‚ disconnect the power and use a soft‚ dry cloth – avoid harsh chemicals. Securely install the TV stand or wall mount to prevent tipping. Do not place heavy objects on top of the TV.
Always follow all warning labels and instructions. If you experience any unusual smells or sounds‚ immediately disconnect the power and seek assistance. Keep the packaging materials away from children.
Cleaning and Maintenance
Regular cleaning maintains your Dynex TV’s performance and lifespan. Always disconnect the power cord before cleaning. Use a soft‚ dry‚ lint-free cloth to gently wipe the screen and cabinet. Avoid applying excessive pressure to the screen.
For stubborn smudges‚ slightly dampen the cloth with water‚ then wipe gently. Never use harsh chemicals‚ abrasive cleaners‚ or solvents‚ as these can damage the screen’s coating. Clean the vents periodically with a soft brush to remove dust accumulation‚ ensuring proper ventilation.
Inspect the power cord regularly for damage. Store the TV in a cool‚ dry place when not in use. Proper care extends the life of your Dynex television.
Finding Additional Resources
Explore the official Dynex support website for FAQs‚ troubleshooting‚ and downloadable PDF manuals to enhance your TV experience and resolve issues.
Dynex Support Website
Access a wealth of information and support resources directly through the official Dynex website. This online portal serves as a central hub for all your Dynex TV needs‚ offering a comprehensive collection of frequently asked questions (FAQs) designed to address common concerns and provide quick solutions.
You’ll find detailed troubleshooting guides to help diagnose and resolve various issues‚ from picture and sound problems to connectivity challenges. Furthermore‚ the website provides convenient access to downloadable PDF manuals for a wide range of Dynex TV models‚ ensuring you always have the latest instructions at your fingertips.
The Dynex support website is regularly updated with new information and resources‚ making it an invaluable tool for maximizing your TV’s performance and enjoyment.
PDF Manual Downloads
Locate and download detailed PDF versions of your Dynex TV’s instruction manual for offline access and convenient reference. Our extensive database contains over one million manuals‚ including those specifically for Dynex televisions and related accessories like TV stands and sound cards.
These downloadable manuals provide comprehensive guidance on everything from initial setup and connecting external devices to navigating the TV menu and troubleshooting common issues. Benefit from step-by-step instructions‚ clear diagrams‚ and detailed explanations to ensure optimal performance.
Accessing the PDF manual allows you to easily search for specific information and print relevant sections for quick reference‚ enhancing your overall user experience.